
November 18, 2019
Another HO Diversion
Spent more quality time with AK Interactive paint and Bragdon Weathering Powders.

August 5, 2019
The House on the Hill
As you can guess from my lack of updates, the day job and FIRST Robotics have severely limited model railroading activities. The other day I happened upon an interesting kit on the shelf at the Train Shop, and I decided it was time to dig in on a "quick" project to get back in the modeling saddle — the Bates House from Psycho. The kit was designed for easy assembly, but not necessarily easy decoration. "Skill Level 2" was real a throwback to my youth with SNAP-TITE cars:


After perusing some online photos of the Universal Studios set, I decided to push myself harder than usual. I had not built an HO Scale building in a few months and it was time to put a few evenings of effort leveraging my new skills AK Interactive paints and try some new things.
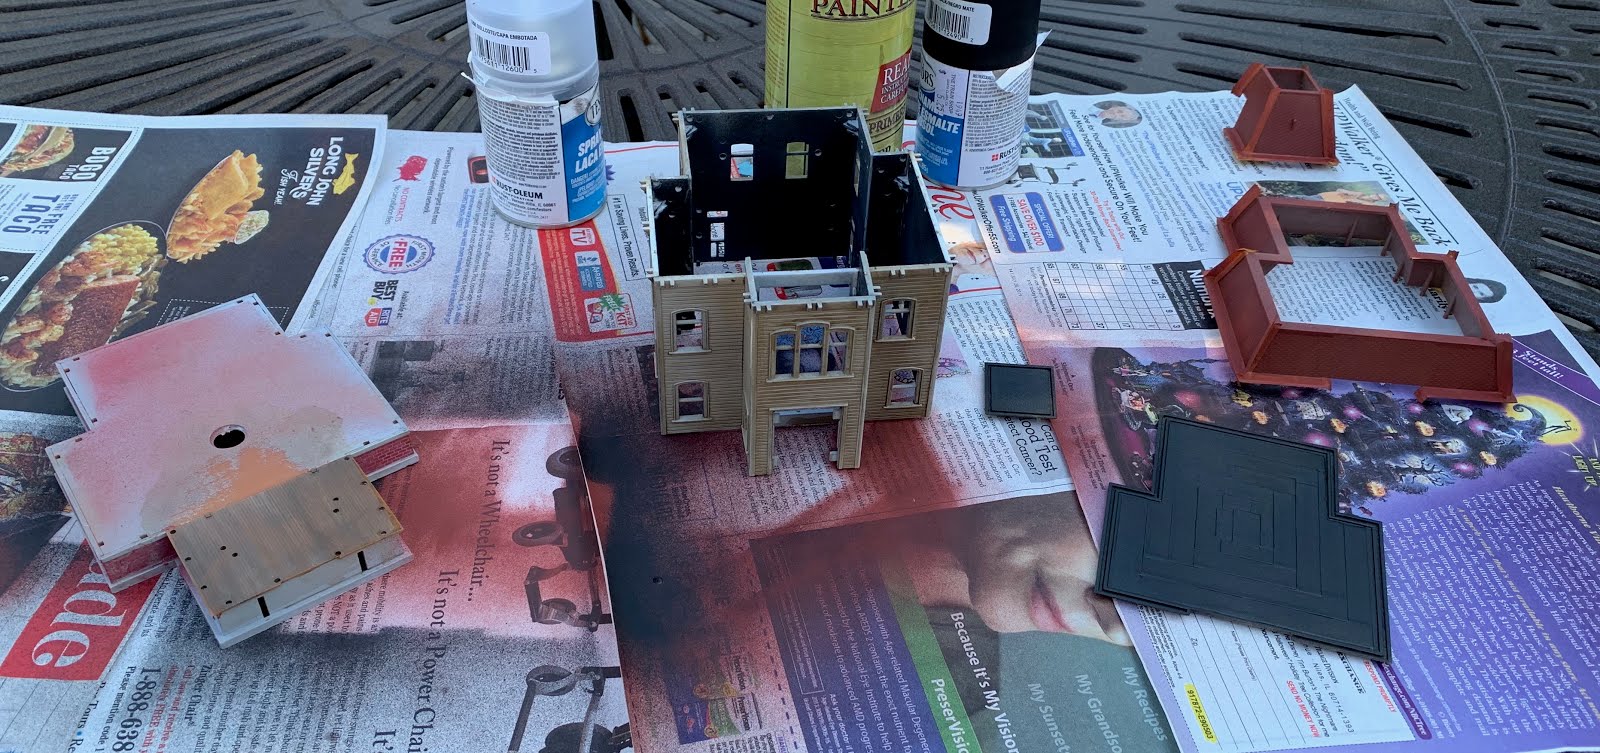
Frenzy of gluing, masking, painting, and washing
I had thought of trying "hairspray" paint chipping technique on this "large scale" structure, but after getting a nice coat of primer, and dark brown wash on the model, I followed a different route.
After watching a YouTube video about the AK weathering PENCILS, and decided I'd see if I could make this plastic house look more like a weatherbeaten wooden structure. Using the pencil was a throwback to art class, and I like the results:

Walls were primed, "washed," and distressed with AK Pencils
At the end of the weekend, the kit was almost finished— I still need to add the window glass, some minimal interior walls, and a few "creepy" LED lights.

Mother is home
November 5, 2018
Weathering N Scale Cars
When I was recently at The Train Shop, I stumbled across some very cool ghost-lettered N-Scale Railbox combination door boxcars. They were too cool to let stay behind the counter.
Thanks to war gaming friends, I discovered AK Interactive Weathering paints— and with fairly minimal effort on my parts (Winter Streaking Grime, Light Rust Wash, and other dust washes) the results were astounding:

Happy with the look, I then added BlairLine and Microscale Graffiti decals:

Thanks to war gaming friends, I discovered AK Interactive Weathering paints— and with fairly minimal effort on my parts (Winter Streaking Grime, Light Rust Wash, and other dust washes) the results were astounding:

Happy with the look, I then added BlairLine and Microscale Graffiti decals:

August 21, 2017
CanCo Continued
Had some time over the weekend to continue working on the American Can Company.
Picked yet another arrangement of walls, fabricated floors and the roof for the South end, and started painting the wall sections for the North end:


Picked yet another arrangement of walls, fabricated floors and the roof for the South end, and started painting the wall sections for the North end:


August 16, 2017
American Can Company
With work stress reaching new local maximums, it was time to switch gears back to the shelf layout. One of the big industries for the layout is the American Can Company, which featured a large operation on Illinois Street. Here's a picture from the SF Public Library:

The building literally looks like it came out of the Walther's catalog, so after a trip to the "personal hobby shop," I dug out some older kits— and by older, I mean at least two 20+ year old kits still in boxes.

I spent some time mulling over options and decided that combining the "Brach's Candy Factory" along with the newer "American Hardware Supply" would do the trick.


After some a bunch of cutting splicing, resorting to Sharpie markers for the mullions, and swearing, I ended up with this:

July 30, 2017


The Other Pier End
With the "insane" pier end complete, I shifted gears over to the "other" end pilings. Here are a few cropped images from the drone video that I used as a starting point:


Rather than messing with plastic, I decided to build this entire assembly using wood dowels, scale lumber, and my new best friend Formula 560 Canopy glue:


When I got to the third layer, I realized I needed to add the diagonal braces from the prototype. I makes some adjustments and re-glue some of the pilings while everything is still workable:


Thankfully, I realized the error in my ways before the glue completely dried—only a single piling should be between the diagonal bracing. The next phase was to wrap the main assembly with the smaller pilings. I trimmed the bracing with flush cutters, added several beads of glue, and then wrapped my small pilings around the entire assembly:

I didn't like how the bracing wasn't evident,so I added an additional layer of scale lumber to bring the details closer to the top. Now to let the entire thing dry tonight:


July 28, 2017
Shelf Layout Progress
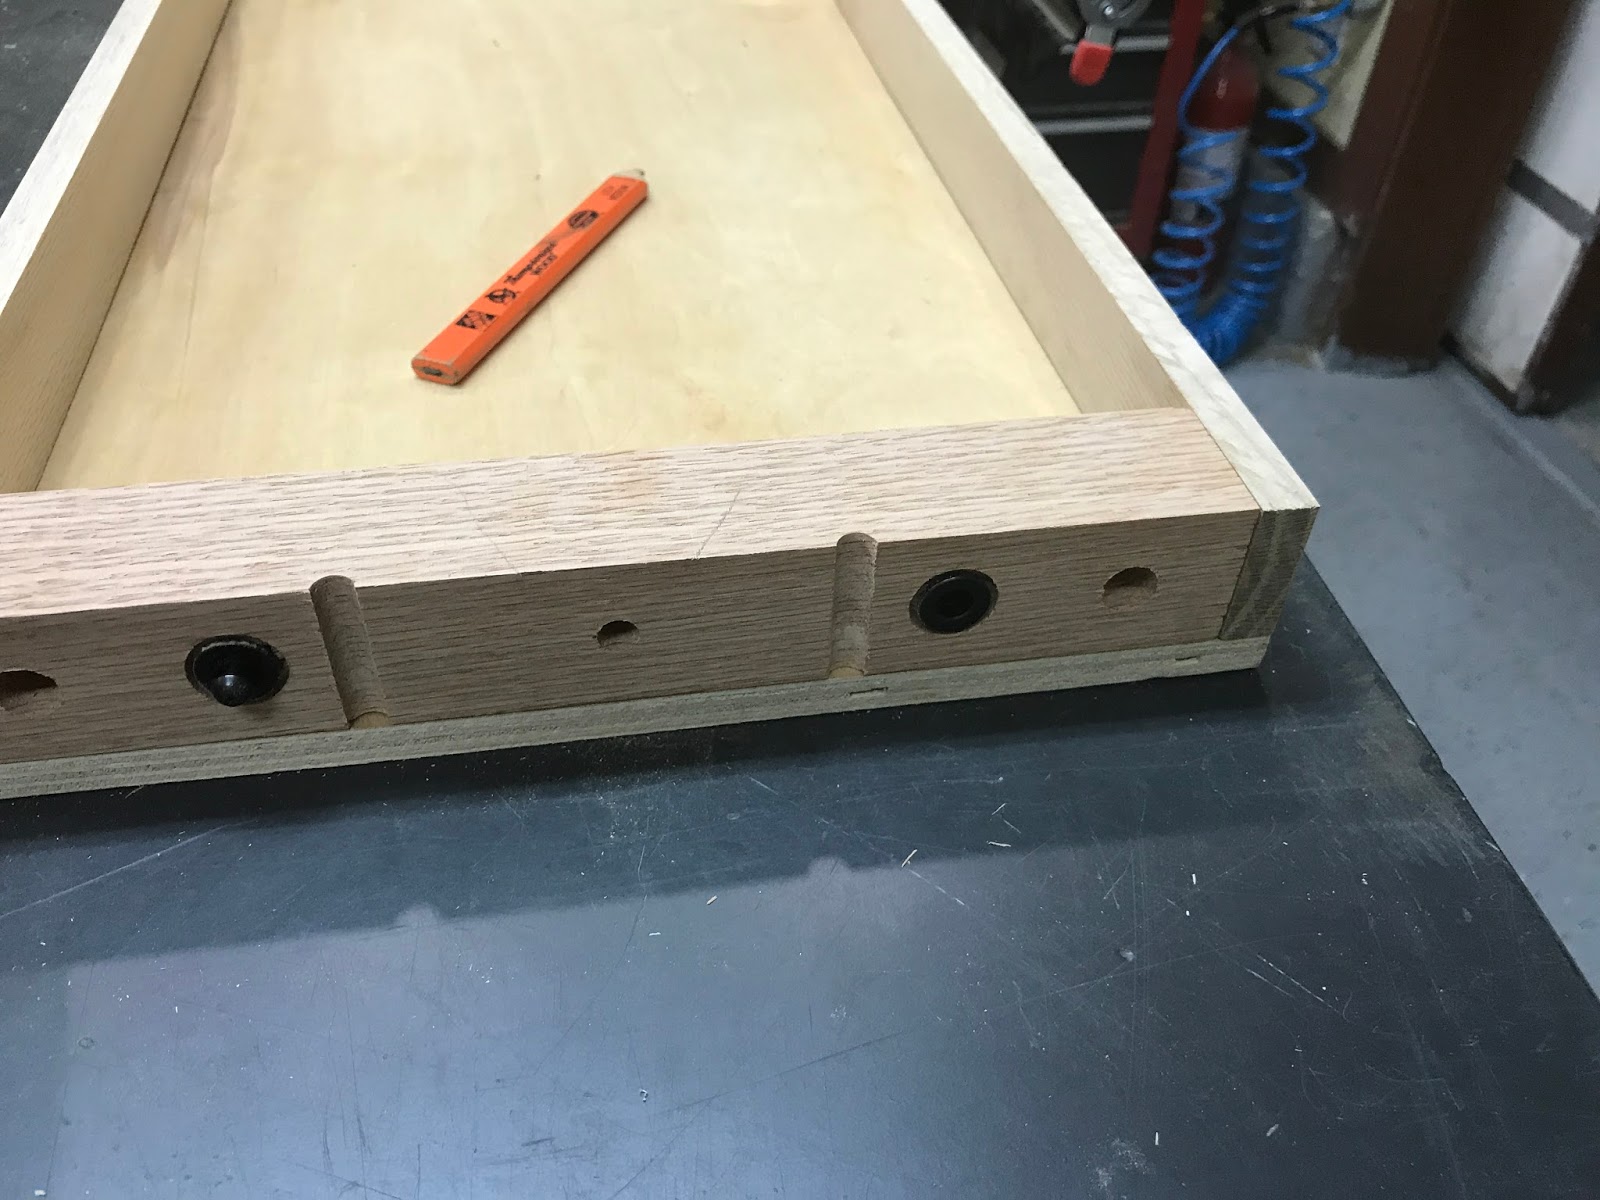
In this week's work session, my friend and I got a chance to get the two boxes built-up. Most of the time was spent setting up the drill press to be able to correctly install the alignment pins.


Test fitting the 2x2 endplates; the holes and pins worked:

Added two holes for wiring, a third hole a 5/6" bolt, and finally a set of holes to allow for the modules to be cleanly separated:

Dry fitting and gluing the plywood tops in place:


Waiting for the glue to dry before the next session:


Test fitting the 2x2 endplates; the holes and pins worked:

Added two holes for wiring, a third hole a 5/6" bolt, and finally a set of holes to allow for the modules to be cleanly separated:

Dry fitting and gluing the plywood tops in place:

Waiting for the glue to dry before the next session:

July 26, 2017
Portable Switching Layout
Started construction of the benchwork for Illinois Street shelf layout. Cut two 12" x 36" long plywood tabletops as a start:

Adding 1x2 and 2x2 hardwood framing below the layout to provide some strength and make room for the low profile switch machines and other electronics. Side rails are fine without additional woodwork— will eventually trim plywood flush, as it was a tiny bit longer than 36":

Cutting the oak cross braces to length:

Dry fitting the side rails and end/cross bracing:

Subscribe to:
Comments (Atom)