July 15, 2021

A Brewery for Silicon Valley Lines

Silicon Valley Lines

For almost 18 years, I had a few Walther's Milwaukee Beer and Ale kits sitting in my "personal hobby shop."  I had always wanted to create a large industry for the Silicon Valley Lines model railroad club, but with a stressful day job, and a son involved with FIRST Robotics, the time to spend working on such a large task felt like it was it would never happen.

Fast Forward to 2020, where We have have all seen amazing "COVID Projects" other model railroaders have built during lockdown. I felt a sudden sense of urgency to actually get something accomplished. It was time to build a Brewery.

SVL is an operations oriented club in a large space. While striking from an architectural perspective, the Walthers kit harkens back to an earlier era where large industries are compressed to fit on smaller layouts.  I initially purchased multiple brewery kits with an intent to create a unique build, but after examining the available space at the club, I needed to take a different route. While I was flipping through old MR articles, I ran across an article describing the then "brand new" DPM modular wall system. I realized that the arched window wall sections could be used to build a nice warehouse to connect with the original kit.

Inspiration from an old MR Article

After taking some measurements at the club, I glued up some of the wall sections and soon had a chance to check a "dry fit" of the resulting complex:

December 11, 2020

New John Signor San Francisco Terminal District Article!

 Christmas came early this year!  Lots of great stuff inside.


CanCo Loading Docks

The loading docks which come with the ITLA loading dock didn't feel right to me— they seemed more like truck loading doors than railcar spots:

To fix this, I raided my "personal hobby shop" and found some old DPM modular wall sections:


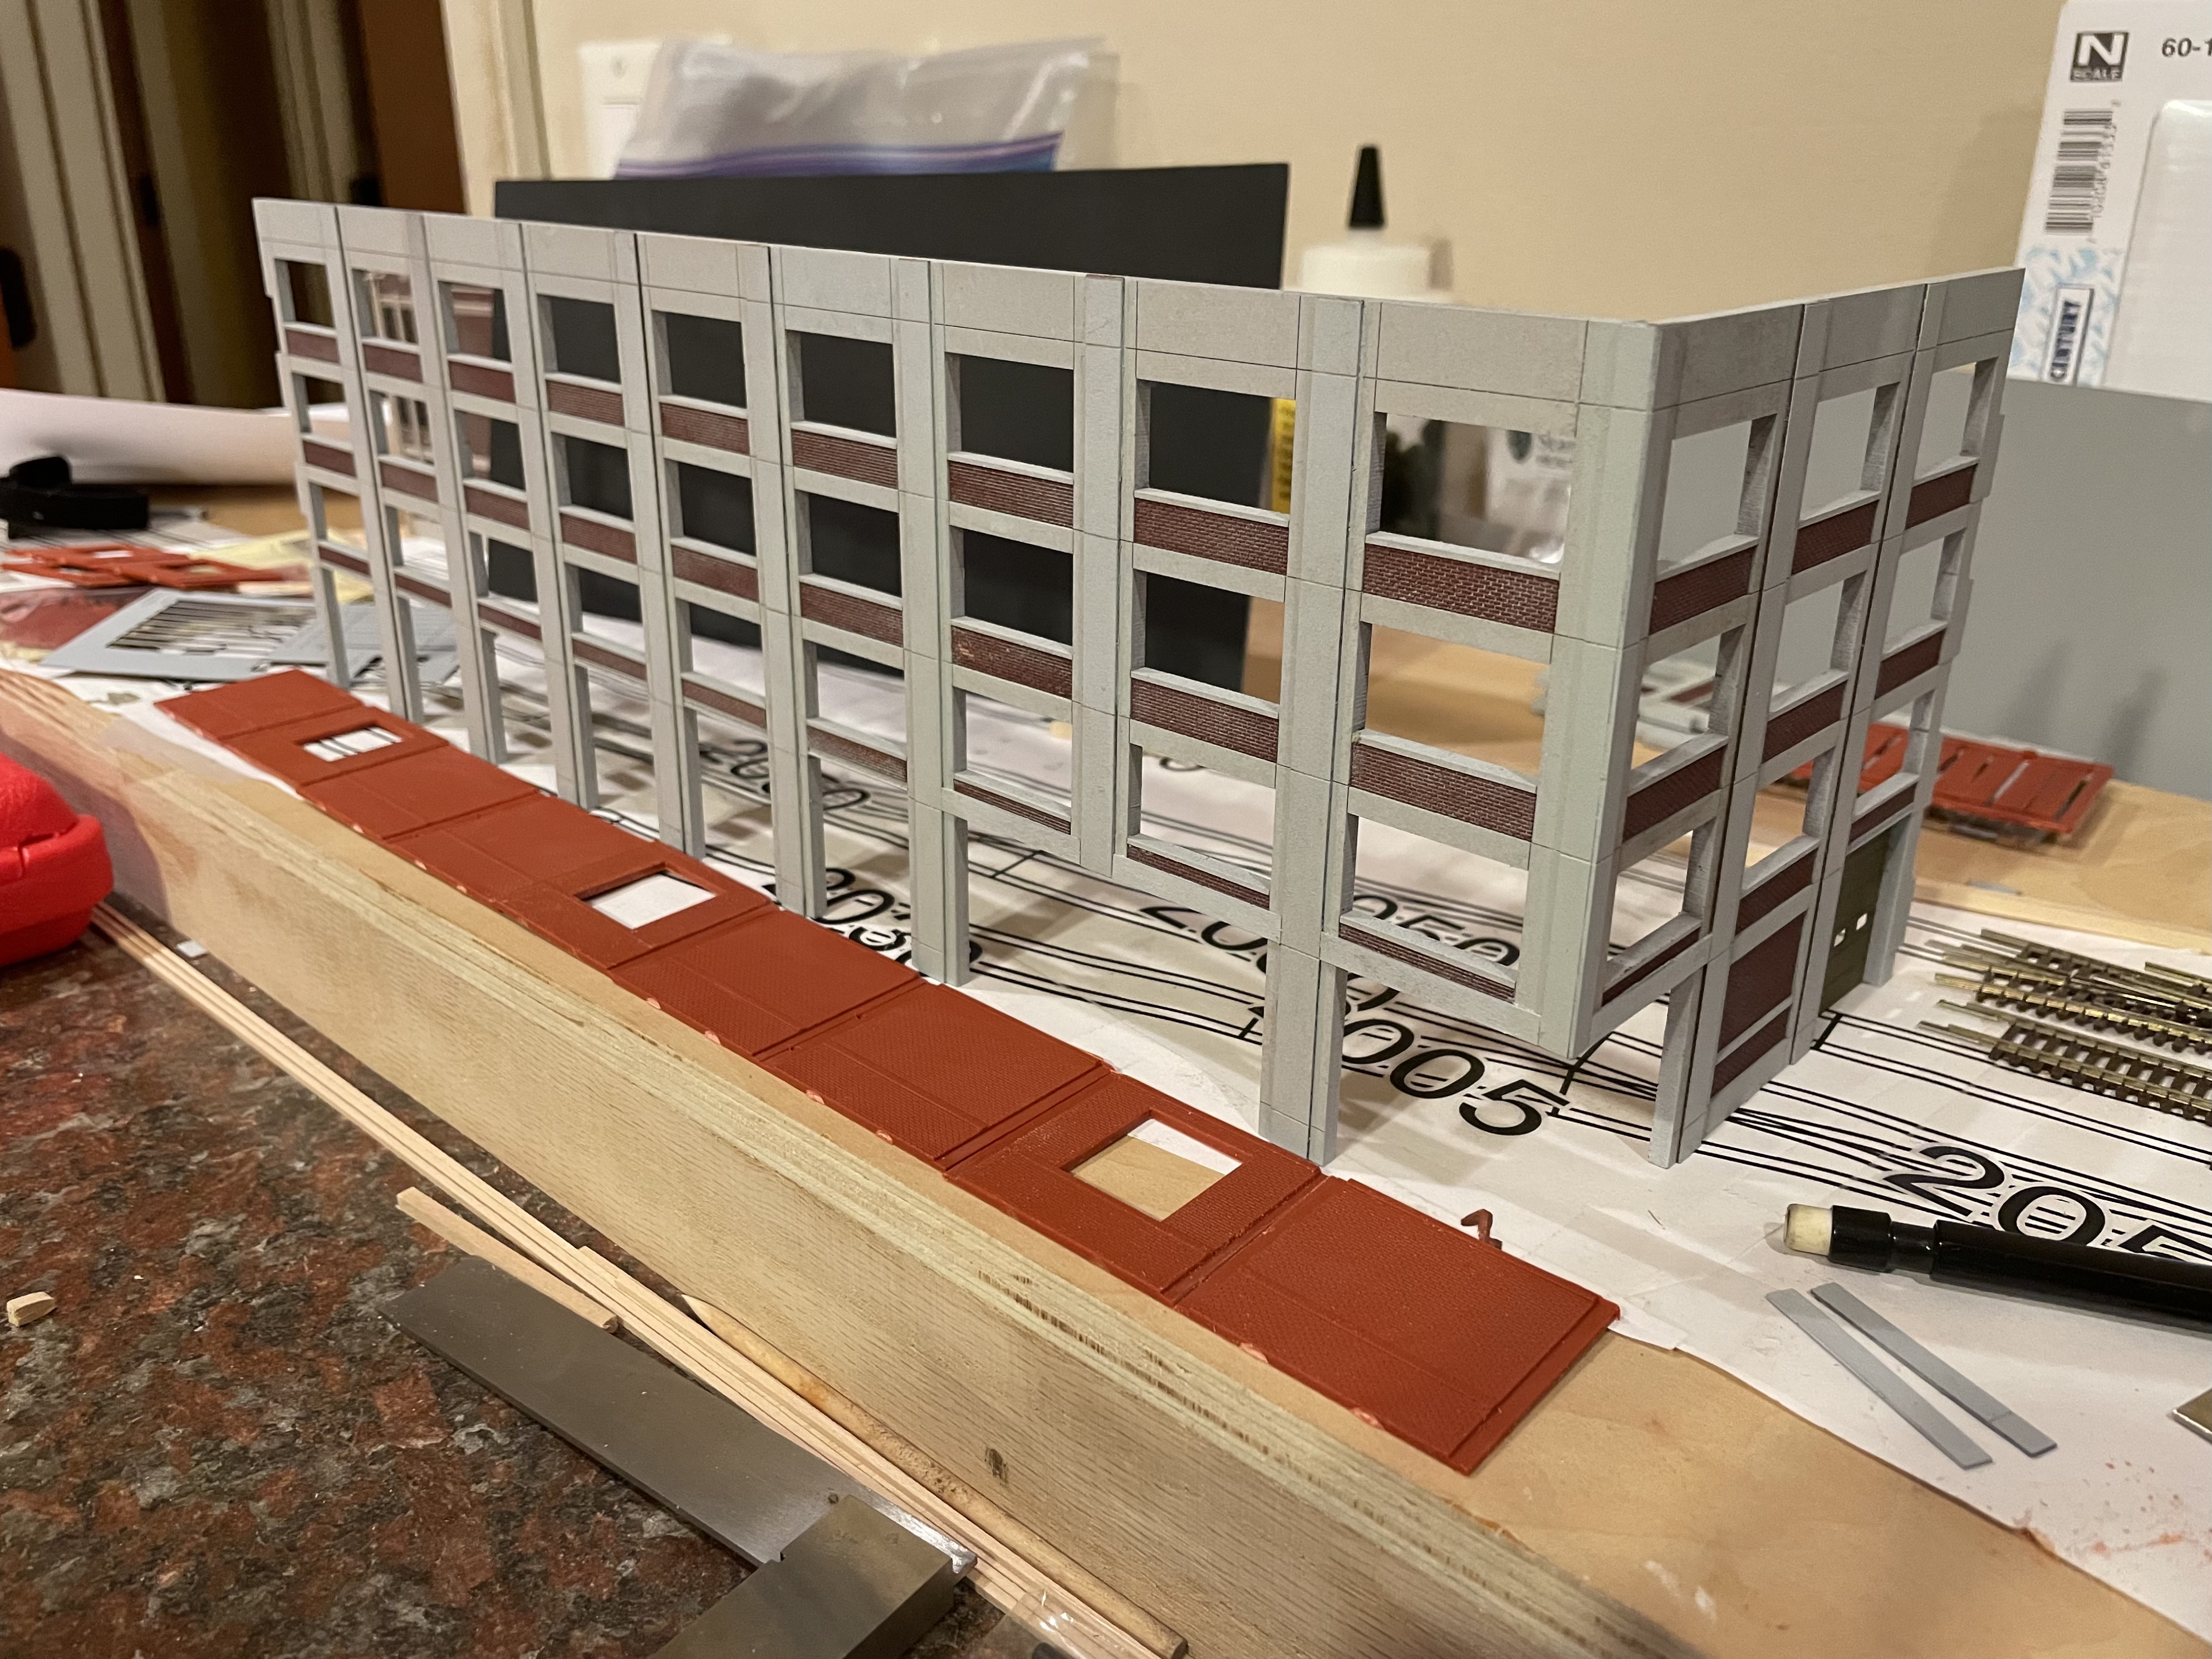
After cutting, fitting, bracing and gluing I used some Army Painter Chaos Red to paint the bricks, followed with a wash of AK Interactive Medium Gray for the grout. (I specifically went heavy because I knew I was going to come back with more weathering and this wall would be hiding underneath the rest of the building.)


When I was happy with the brick, I came back and added some Evergreen styrene strips in order to echo the cement posts seen inside these brick curtain buildings— this did a good job of hiding all the wall section joints:


Been pretty happy with how this is coming out:


The task of adding all the windows, glazing, and freight doors comes next— along with planning the final assembly and any lighting details.  The dock is also screaming for some lights over the doors:


December 4, 2020

Used excess laser board pilaster material to beef up the areas where I have removed building posts. I was able to paint the back side of the laser board to represent a larger uninterrupted concrete span.

I also took the opportunity to "reinstall" a previously removed support, too.— again the overlay material which has laser etched joint lines is very convenient to hide that splice.

Decided to also make the commitment to glue up the most important corner so I could finish adding the trim:


Still waiting for one more shipment from Canada which will let me complete the walls.  Once that is done, I can move on to creating floors and the roof.

December 2, 2020

November 25, 2020

CanCo Continued

Making final adjustments to the American Can Company build. I have a few more parts to order from ITLA, but have a footprint that fits on the shelf layout nicely.

NOTE: the "end wall" blocking the rails will be replaced with a different wall section which will allow trains to pass through that section.

Looking forward to making more progress as the holiday season continues.

November 18, 2020

Another American Can Company Kitbash

It has been nearly a year since I have had any time to work on my San Francisco street track shelf layout.

What got me out of the armchair this time was a very nice new product line from ITLA (https://itlascalemodels.com/collections/industrial-wall-modules). My prior attempts was clearly stalled by a massive painting (really masking) project.

The ITLA wall sections are modular, to scale, and incredibly well engineered— there is no need to mask the them as the reinforced concrete, windows, and brick inserts are separate laser cut parts.  To that end the  kit is designed to be press-fit to together, and all gluing can be done from the back side.


This project also gave me a chance to play with the new line of acrylic paint from AK Interactive. I was able to dilute the finely ground paint with water and was able to wash in grout lines in the N Scale brick inserts.  When I didn't dilute the paint, it was very saturated and covered nicely.

It is nice to get back into the saddle again after a long set of work projects had me sidelined.


November 18, 2019

Another HO Diversion

Spent more quality time with AK Interactive paint and Bragdon Weathering Powders.


August 5, 2019

The House on the Hill

As you can guess from my lack of updates, the day job and FIRST Robotics have severely limited model railroading activities.  The other day I happened upon an interesting kit on the shelf at the Train Shop, and I decided it was time to dig in on a "quick" project to get back in the modeling saddle — the Bates House from Psycho. The kit was designed for easy assembly, but not necessarily easy decoration.  "Skill Level 2" was real a throwback to my youth with SNAP-TITE cars:


After perusing some online photos of the Universal Studios set, I decided to push myself harder than usual.  I had not built an HO Scale building in a few months and it was time to put a few evenings of effort leveraging my new skills AK Interactive paints and try some new things.

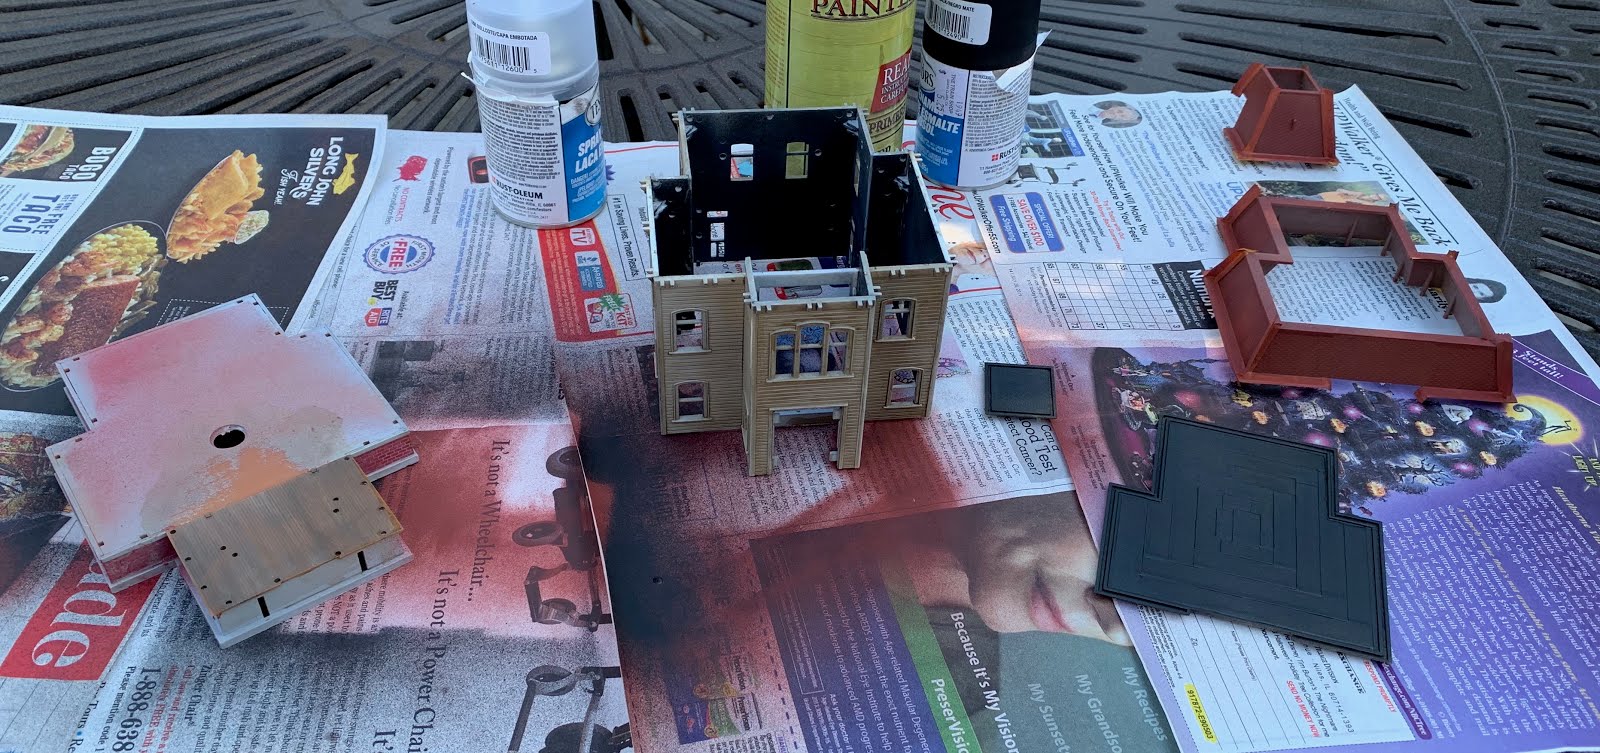
Frenzy of gluing, masking, painting, and washing

I had thought of trying "hairspray" paint chipping technique on this "large scale" structure, but after getting a nice coat of primer, and dark brown wash on the model, I followed a different route.

After watching a YouTube video about the AK weathering PENCILS, and decided I'd see if I could make this plastic house look more like a weatherbeaten wooden structure.  Using the pencil was a throwback to art class, and I like the results:

Walls were primed, "washed," and distressed with AK Pencils

At the end of the weekend, the kit was almost finished— I still need to add the window glass, some minimal interior walls, and a few "creepy" LED lights.

Mother is home


November 5, 2018

Weathering N Scale Cars

When I was recently at The Train Shop, I stumbled across some very cool ghost-lettered N-Scale Railbox combination door boxcars.  They were too cool to let stay behind the counter.

Thanks to war gaming friends, I discovered AK Interactive Weathering paints— and with fairly minimal effort on my parts (Winter Streaking Grime, Light Rust Wash, and other dust washes) the results were astounding:


Happy with the look, I then added BlairLine and Microscale Graffiti decals:


August 21, 2017

CanCo Continued

Had some time over the weekend to continue working on the American Can Company.

Picked yet another arrangement of walls, fabricated floors and the roof for the South end, and started painting the wall sections for the North end:


August 16, 2017

American Can Company

With work stress reaching new local maximums, it was time to switch gears back to the shelf layout. One of the big industries for the layout is the American Can Company, which featured a large operation on Illinois Street.  Here's a picture from the SF Public Library:


The building literally looks like it came out of the Walther's catalog, so after a trip to the "personal hobby shop," I dug out some older kits— and by older, I mean at least two 20+ year old kits still in boxes.


I spent some time mulling over options and decided that combining the "Brach's Candy Factory" along with the newer "American Hardware Supply" would do the trick.


After some a bunch of cutting splicing, resorting to Sharpie markers for the mullions, and swearing, I ended up with this:


July 30, 2017

Pier End in Context


The Other Pier End

With the "insane" pier end complete, I shifted gears over to the "other" end pilings.  Here are a few cropped images from the drone video that I used as a starting point:


Rather than messing with plastic, I decided to build this entire assembly using wood dowels, scale lumber, and my new best friend Formula 560 Canopy glue:


When I got to the third layer, I realized I needed to add the diagonal braces from the prototype. I makes some adjustments and re-glue some of the pilings while everything is still workable:


Thankfully, I realized the error in my ways before the glue completely dried—only a single piling should be between the diagonal bracing.  The next phase was to wrap the main assembly with the smaller pilings.  I trimmed the bracing with flush cutters, added several beads of glue, and then wrapped my small pilings around the entire assembly:


I didn't like how the bracing wasn't evident,so I added an additional layer of scale lumber to bring the details closer to the top.  Now to let the entire thing dry tonight:


Ready for Roadbed and Track


July 28, 2017

Shelf Layout Progress

In this week's work session, my friend and I got a chance to get the two boxes built-up. Most of the time was spent setting up the drill press to be able to correctly install the alignment pins.


Test fitting the 2x2 endplates; the holes and pins worked:


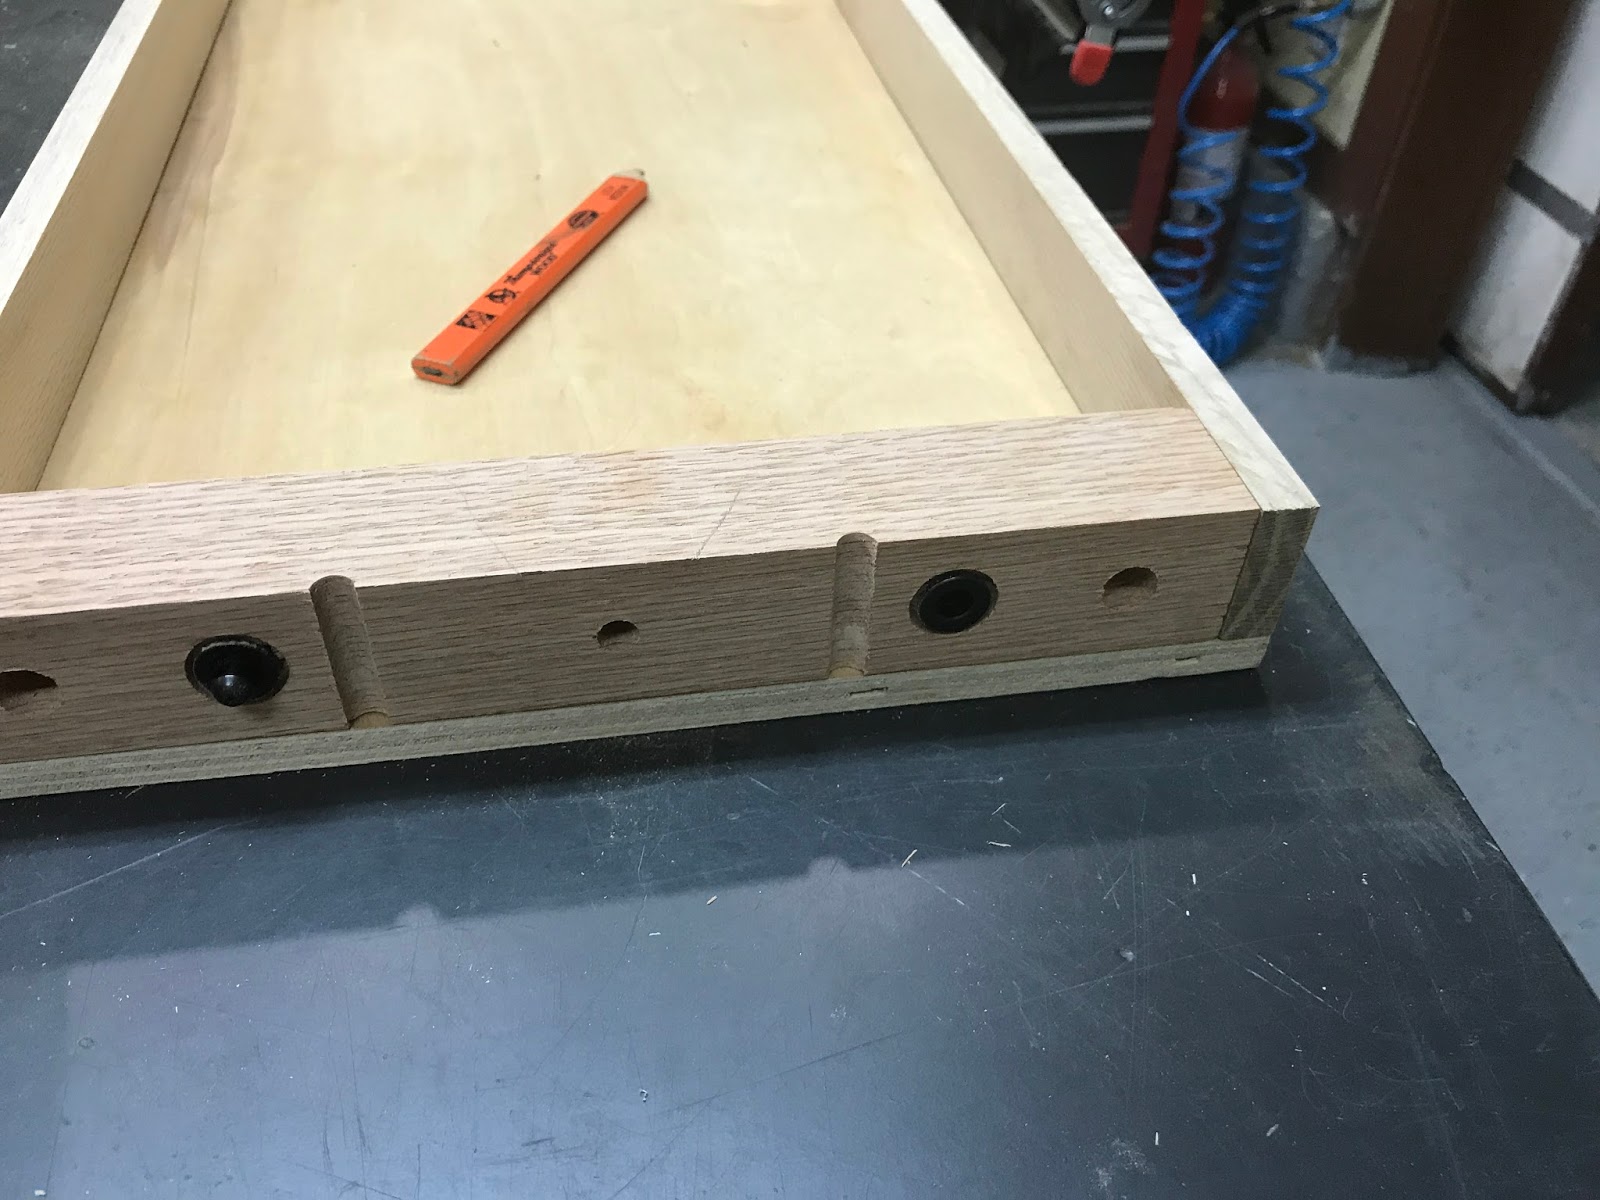
Added two holes for wiring, a third hole a 5/6" bolt, and finally a set of holes to allow for the modules to be cleanly separated:


Dry fitting and gluing the plywood tops in place:


Waiting for the glue to dry before the next session: